
How to Raise Baby Chicks in a Cold Climate

All right, I’ve been asked by several people now to write a post on raising chickens in cold climates. So here it goes! This first post will start at the beginning, raising day old chicks through about 6 weeks old. Later I will be making another post on raising them as they get older and how to get them through the cold winter months.
When I first started raising chickens I lived in Interior Alaska—super cold winters ya’ll. Now we’re back in Montana and we have what I would call “fairly” cold weather. My point is—you can definitely have chickens in cold climates!
Keep in mind, I am by no means a chicken expert—I just love them and have kept them in a much colder climate than most people. I will walk you through step-by-step how I’ve kept my little puffballs warm and well taken care of.
CHOOSE YOUR CHICKEN BREEDS WISELY
Before you get too far, deciding what chicken breeds to buy is a good idea. There are many wonderful places to help you decide such as this place here.
Cold hardy birds will be labeled just that, “cold hardy.” Other things to look for are breeds that have small combs such as pea combs and rose combs. Why? Because the larger the comb the easier it is for them to get frostbite. The feet, the wattle, and the combs are the most susceptible to frostbite. So the smaller the comb the better for cold climates.
Probably my all-time favorite bird is the Americauna. I just love everything about them—their looks, their mannerisms, their cold hardiness, and the color of their eggs. I also like Buff Orpingtons, and Black Austrolorps.
This year I have Americaunas (of course) and am also trying Olive Eggers and Barred Rocks.

DECIDE WHEN TO BUY YOUR BABY CHICKS
Knowing your climate and figuring out approximately when you will be able to put the chicks out in their permanent coop due to weather is important. This will ensure you don’t buy them too early so they are stuck in a garage for months on end, or too late and it’s winter before your chicks have fully feathered out. Also keep in mind that chickens will start laying eggs around 6 months of age. So if you would like to start getting eggs by fall (October-ish), that means you would want to get your chicks beginning of April. Just be sure that you have a warm enough place for the chicks as they do grow very quickly! It’s pretty cute and fun to have them in the house for the first couple weeks, but after that I definitely prefer to have them out in the garage until the weather warms up enough to put them out in the coop.
I tend to buy my chicks middle of April. Check out the end of this post to see my personal timeline.
WHERE TO BUY BABY CHICKS
There are three basic places you can purchase baby chicks: the feed store, order them online, or get some from a neighbor. I personally have the most experience purchasing them from a feed store. If you live in an extreme cold climate definitely research how they ship their chicks before ordering online! Some places ship overnight, and others take up to 3 days to ship. When you order online they generally have a minimum of around 25 chicks and that’s to keep them warm enough in transit so they don’t freeze.
For our purposes, I will be focusing on purchasing them locally at a feed store. Although there are some advantages to ordering online such as being able to get some rare breeds which is how I was able to get my hands on some Olive Eggers this year. Some like to point out that ordering then online is actually easier on the chicks, because they only get moved once, instead of twice. But again, personal opinion.
When you buy chicks, you are buying day old chicks. The reason it is possible to ship such tiny little creatures without food and water is actually quite interesting. Out in nature when a hen is hatching a clutch of chicks, they do not all hatch at once, and the mama can’t leave the nest until they do. Baby chicks absorb the yolk sac just before hatching which provides them with plenty of nourishment for a couple of days. Then, once all the other chicks are hatched (or nearly all) the mama hen will take her chicks out to forage for food.
BABY CHICK CHECKLIST
A few “‘must have” items you will need for your little brood, as well as a few optional items are as follows: (And don’t forget they grow quickly—either have their permanent coop already in place, or for sure in the works!)
A PLACE TO BROOD THEM
I start my chickens inside for the first 1-3 weeks because I like to keep a close eye on them. If you have another place that can be kept appropriately warm go ahead and use that. Once my chicks are a couple weeks old I move them out to the garage. And then when the weather is plenty warm outside I move them out to the actual coop. If you do have them in a garage without a window, it would be best to provide them with light during the day. (Even if you are using a red infrared light.) They need regular light which will stimulate activity and keep them active. Health chicks=healthy chickens=healthy eggs.
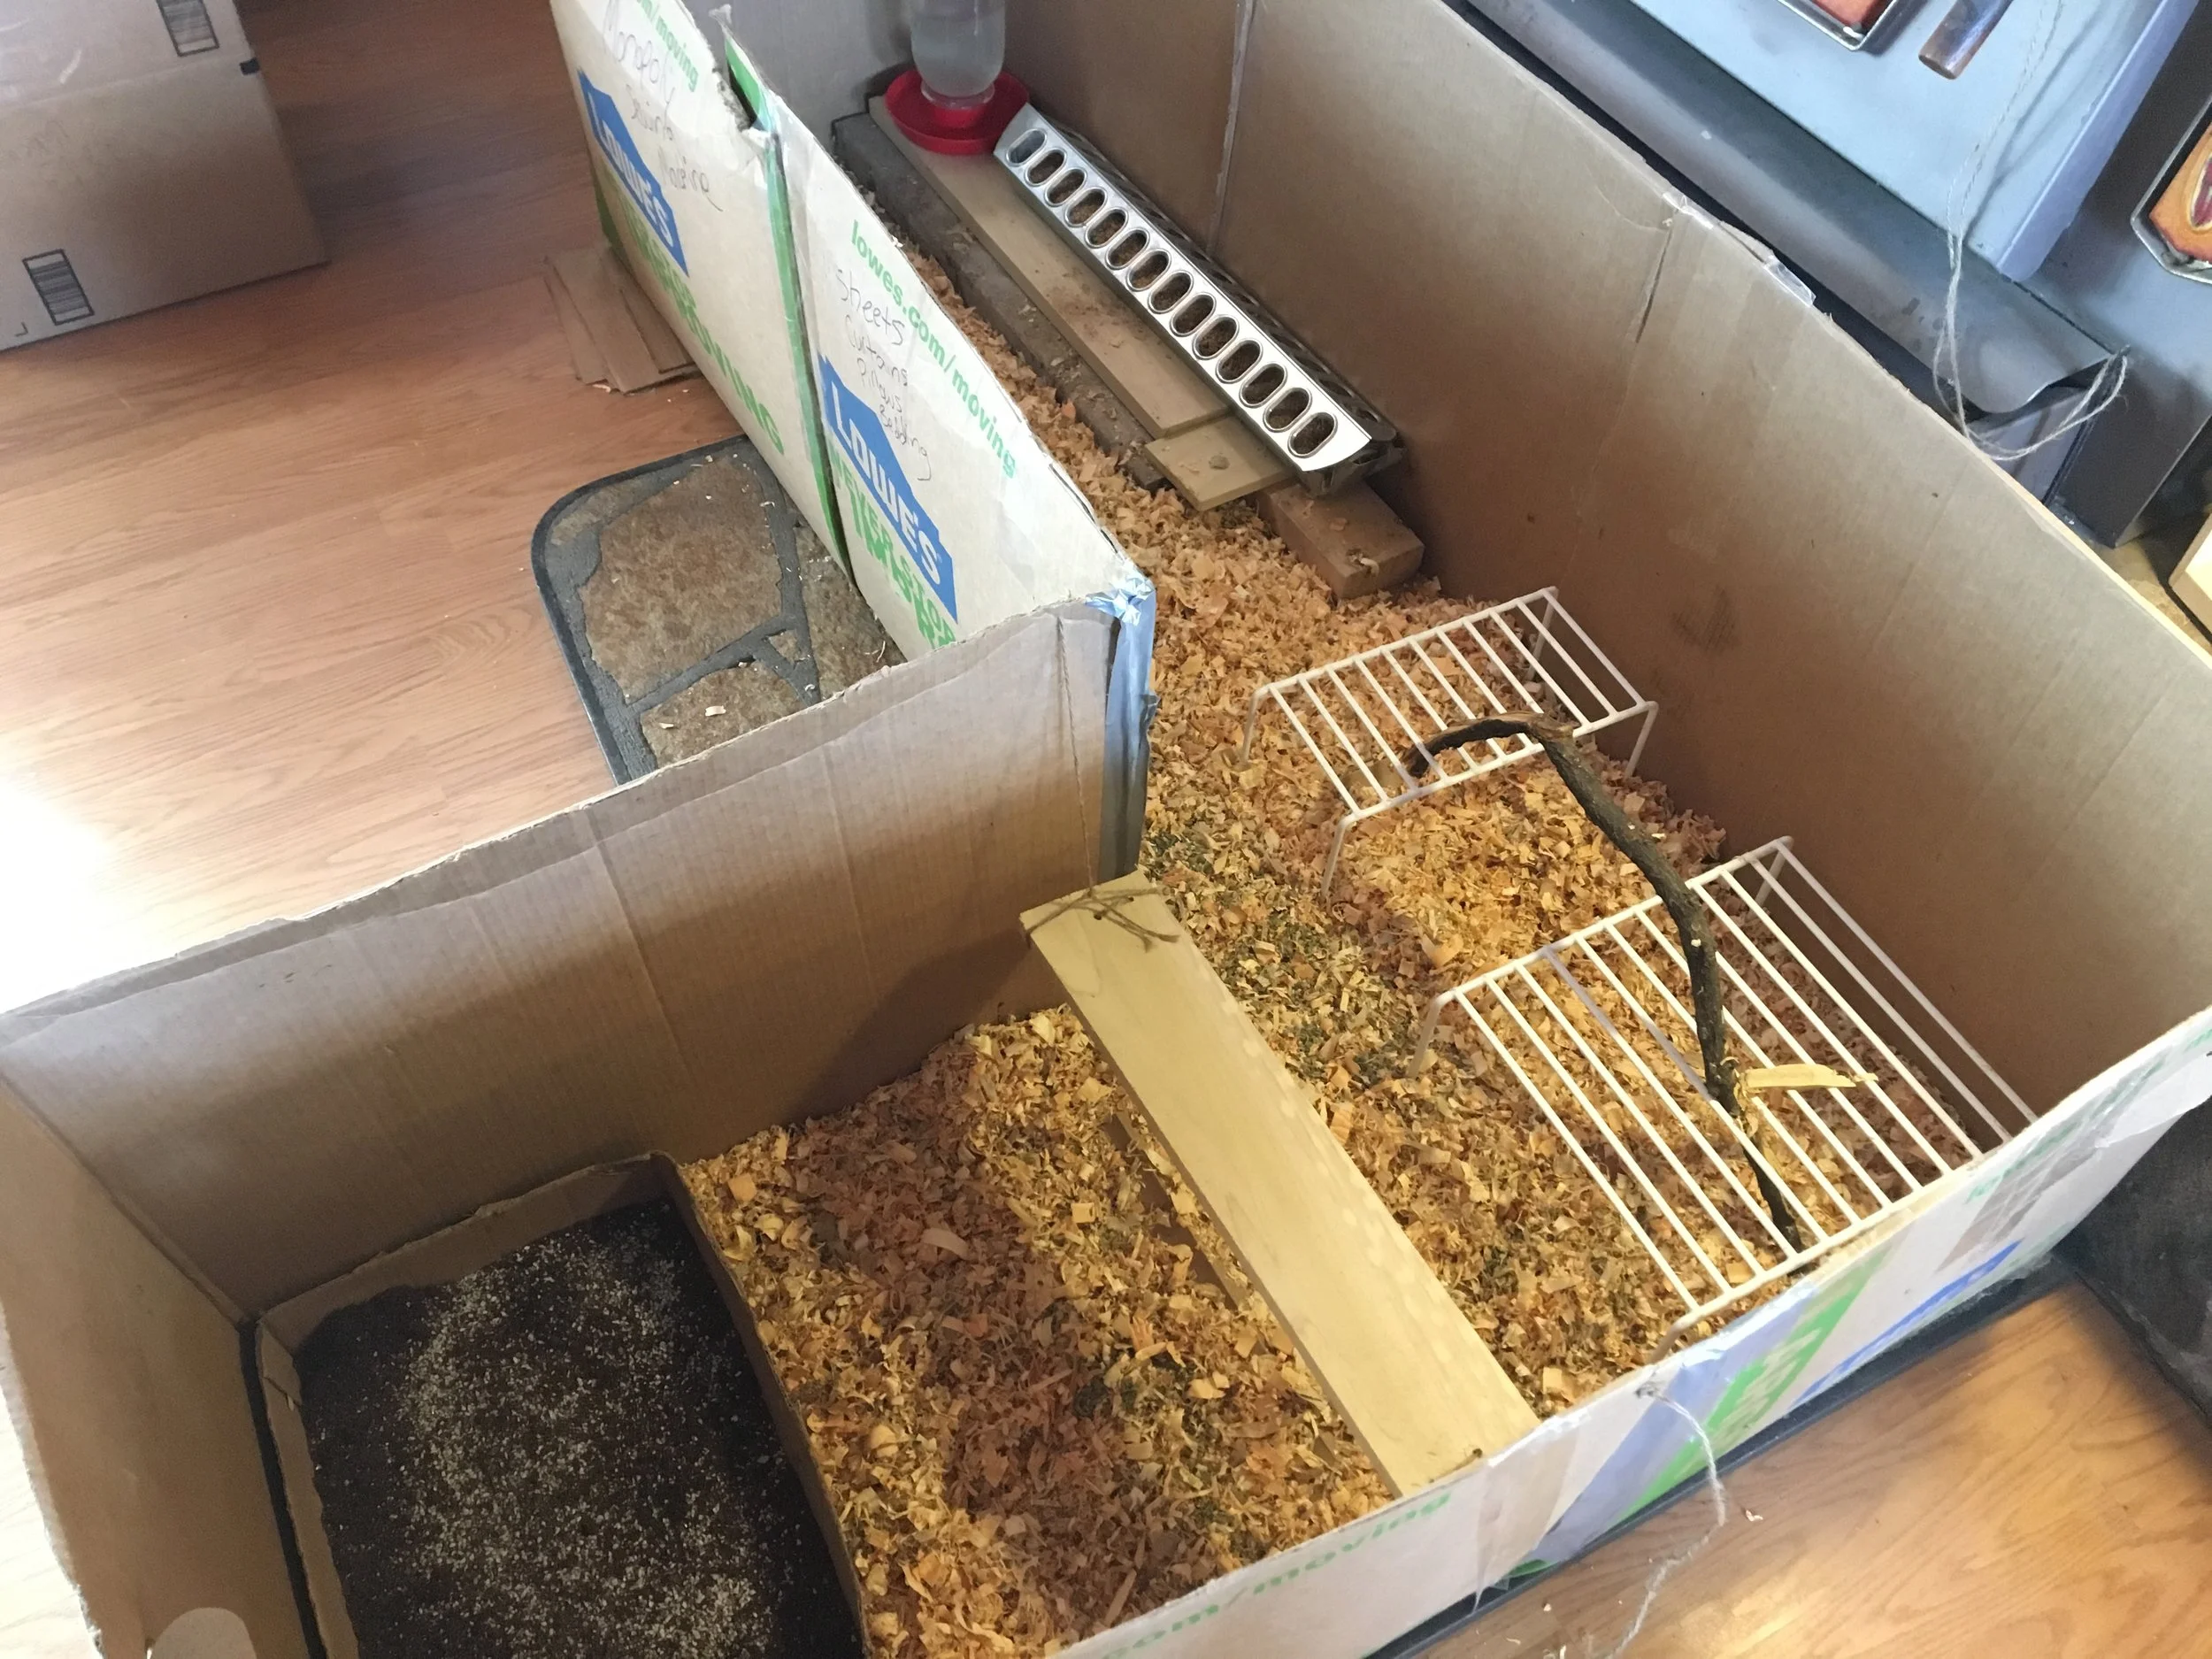
Here you can see my set-up for when the chicks are a couple weeks old. They have fresh water, food, a dust bath, a swing, and a perch.
BROODER
This is where you will be keeping the chicks. It can be anything from a cardboard box, to a plastic tote, to whatever else you think will work. Just make sure it is the appropriate size for the amount of chicks you plan on bringing home. Please give your chicks plenty of room. They love to play and explore—if they do not have room and some sort of stimulation, they will resort to pecking at each other which never ends well for anyone.
Some folks recommend making sure you have no corners in your box because one of the chicks could get squished by being at the bottom of the pile and not being able to escape. I’ve never had an issue, but just wanted to mention it. I’m sure it becomes more of an issue the more chicks you have.
Bedding
You will need some sort of bedding for the chicks which serves several purposes. It helps soak up their poop, helps keep them warm, and gives them something to peck through. I personally love using pine chips/shavings which you can buy from your local feed store. Pine chips also smell good which helps cover their poop scent and I find it’s easy to clean up and throw in the compost pile. Do NOT use sawdust! The chicks will breathe it in and cause lung problems. Some people use other types of bedding, such as straw, but again, I’ve never used it so I can’t say whether or not I like it.
When the babies first come home, I cover their brooder box in paper towels instead of the pine chips. I do this because baby chicks will eat the pine chips and can cause issues when they are so tiny. Please don’t use newspaper because it’s slippery and the chicks can slip and break a leg pretty easily. After about 2-3 days I start throwing in some pine chips and then after another day or so I get rid of the paper towels all together and just use the pine chips.
Screen/Chicken Wire, Etc.
Give the chicks a couple weeks and you will have escape artists! They love to test their flying capabilities and will fly out of their box and perch on the edge. To keep them safe and inside, you will want to cover their brooder with some sort of wire cover. Chicken wire laid on top held down with a long board works great. If you have pets, children, etc. you may want to put the chicken wire on it right away to keep them safe, but in the past I don’t add it till later. I’ve also used an old window screen which also works well.

Here you can see the baby chicks love feeling the soft warmth from the heating pad. Very close to how they would feel sitting under a mama hen.
HEAT SOURCE
Baby chicks need an extremely warm place to live. 90-95° F is the temperature they require for the first week. That is about the temperature a mother hen produces when sitting on them. Most people (myself included) tend to use a red infrared 250 watt bulb. Please use caution, though, as they can be an extreme fire hazard. Be SURE it is secure and can’t be knocked over. (Seriously—I can’t say it enough—chicks are crazy active little things and love to perch, fly, and otherwise cause a raucous!)
This time around I also tried using a heat pad that I attached to a wire frame that made a sort of “cave” for the chicks. I was hoping that it would provide enough heat so we wouldn’t need to use the heat lamp, but it wasn’t enough for them. However, they still loved it because, I’m sure, it made them feel safe and secure reminiscent of being under a mama hen. (See picture for visual.) Moral of that story—use a heat pad if you wish, but from my experience they still definitely needed the heat lamp. After about two weeks I took the heat pad away and just used the lamp.
THERMOMETER
It’s a great idea to have some sort of thermometer so you can monitor the heat. I just set it in the brooder under the hottest part. That way I can quickly see if it’s too hot or too cold and adjust the heat lamp accordingly. Baby chicks will let you know how they are feeling if you pay attention. If they are all huddled under the heat lamp, piled on top of each other, and don’t want to play around, they are too cold! If they avoid the heat lamp all together, they are too hot. You will definitely want to have a large enough brooder where there are different temperatures throughout their home. That way they can find a place that is comfortable to them.
The rule of thumb for baby chicks is to start them at a temperature between 90-95° F and reduce the heat by about 5° degrees every week. I am quite vigilant about this rule for the first 2 weeks. After that I mainly rely on how the babies are behaving. But I still have a thermometer in there to monitor it.
I highly recommend turning the heat lamp on several hours before you bring the chicks home to test the temperature. It sometimes takes quite a bit of adjusting to get it in the sweet spot. And trust me, feeling all panicky because the temperature is either way too hot or cold for the babies is not fun. It’s much better to get it prepped ahead of time!
WATER
Water is a huge one—chicks need good clean drinking water the second you bring them home. This means you will need some sort of chicken waterer. You can find many options at your local feed store. I prefer to use the ones that attach to a mason jar. I used to get the metal ones, but they tend to rust easily so I switched to the red plastic version. I recommend not using the plastic jar that you can also purchase, but use an actual mason jar. It’s heavier and won’t tip over as easily once your babies learn they can fly.
I use organic apple cider vinegar (with the mother) in my chicks water. Other folks use an electrolyte/probiotic mix, which can be great, especially if the chicks have been exceptionally stressed and may need an extra boost. (Such as if the shipping time was 3 days.) And still others use only plain water. Another personal preference. I like the apple cider vinegar because I feel it helps keep the water clean, and also provides them with some natural probiotics and vitamins. I add it every day to their water, even once full grown. 2 tablespoons per quart of water. Although I do tend to stop for a few months in the winter when I’m forced to use the metal waterer with the heat base—ACV causes it to rust. More on that in another post.
FOOD
Obviously another big ticket item you need will be a good quality chick feed. Baby chicks need a protein content between 18-20%. You can purchase either medicated or un-medicated feed. Again, personal preference. I choose un-medicated as I feel more comfortable with that. You will feed them the chick starter until they are about 18-20 weeks old or start to lay eggs. Once they get to that stage you will need to start feeding them layer feed which is lower in protein and higher in calcium which helps build strong eggs.
Medicated feed contains something that helps prevent coccidiosis which is a form of diarrhea. Warmer weather tends to cause it more quickly than in cooler weather. Also keep in mind that some hatcheries vaccinate against coccidiosis and in that case you would not generally need the medicated feed, which in fact, could kill the anti-coccidial organisms in the vaccine. Whatever you choose to do, please do more thorough research than I am providing here so you feel confident in your decision.
Chick Grit
They say as long as you’re feeding the chicks commercial feed then chick grit isn’t necessary. But, I like to throw it in their dust bath because a) why not? And b) it gives them one more thing to peck around for.
Chick grit is simply tiny stones which chicks in the wild would naturally pick up as they eat things on the ground. All chickens need these small stones because it helps to grind up their food in the gizzard (think teeth in the stomach). Once your babies are grown up, you will purchase larger stones, but for now they need the tiny stones suitable for chicks.
Toys
Baby chicks need toys! They are curious (albeit total scaredy-cats) and need things to stimulate them in their little home. Think of it like building a playground for them. At first, I just throw in an appropriate sized stick or two from the yard so they can practice hopping and perching on it. Once they are about a week or two old I add in a dust bath for them which they loooove. Then you can start getting fancy and start to hang some food for them to peck at, and even build them a swing. As they get older the more they will love to perch, so putting in an elevated perch for them is a great idea. Have fun with it—it’s great fun to switch up their coop every now and then to stimulate curiosity and interest.
Baby Chick Timeline

Feeling overwhelmed?? I promise it’s not as complicated as it all sounds. So if you’re a list person and like to see everything in “order” here is a breakdown of how I do things and my personal timeline. Keep in mind two things: 1) Many of these items can be catered to what works best for you and 2) This is a rough timeline—I’m just showing you how I personally do things with our weather here in Montana (zone 4b and previously zone 2a in Alaska).
Prior to bringing chicks home (1-2 days before)
Set up brooder
Prep food and water (add 2 tablespoons ACV per quart of water)
Add a small stick or two to the box for them to play on
Set up heat lamp and test to make sure the thermometer is reading 90-95°F (Also make sure there are some cooler spots for them to escape to)
Day 1
Bring chicks home, keeping them warm on the way
Once you get them home, take each chick one at a time and gently dip their beak into the water. Sometimes chicks can’t find the water and this ensures they know where it is. Make sure they swallow some—you can tell when they tilt their head back and “chew” the water.
Once all chicks have had their beaks dipped, just monitor them periodically during the day looking for signs of stress and adjust the heat lamp if necessary.

Day 2
Continue to monitor the chicks for any lethargic looking ones. Also look for pasty butt and deal with that accordingly
Make sure they have clean water and food
Remove paper towels and add fresh ones
Day 3
Same as day 2
Day 4-6
Start adding a few pine chips on top of the paper towels
Day 7
Reduce temperature so it reads between 85-90° F.
Start using all pine chips and no more paper towels
Add a dust bath to the brooder (see below)
Add another stick for them to roost on (or some new interesting “toy”)
Day 14
Reduce the temperature again to roughly 80° F and just continue to monitor their behavior to see if they are comfortable.
Weather permitting, start taking them outside for “field trips”. Start with just a short time where you can keep an eye on them. The first few times, I honestly just let them run free for about ½ hour—they don’t stray far from each other, or the box I bring them out in, but they adore the freedom. So dang cute! Just be sure they are safe from any predators. If you have dogs or other animals put them in some sort of fencing.
Gradually allow them to stay outside for longer periods of time. As you do, you will definitely want a little fenced in area for them so you don’t have to watch them the entire afternoon. If you ever see them all huddled together not moving, they are cold and you need to take them back inside. Also make sure you are giving them food and water while they are outside.
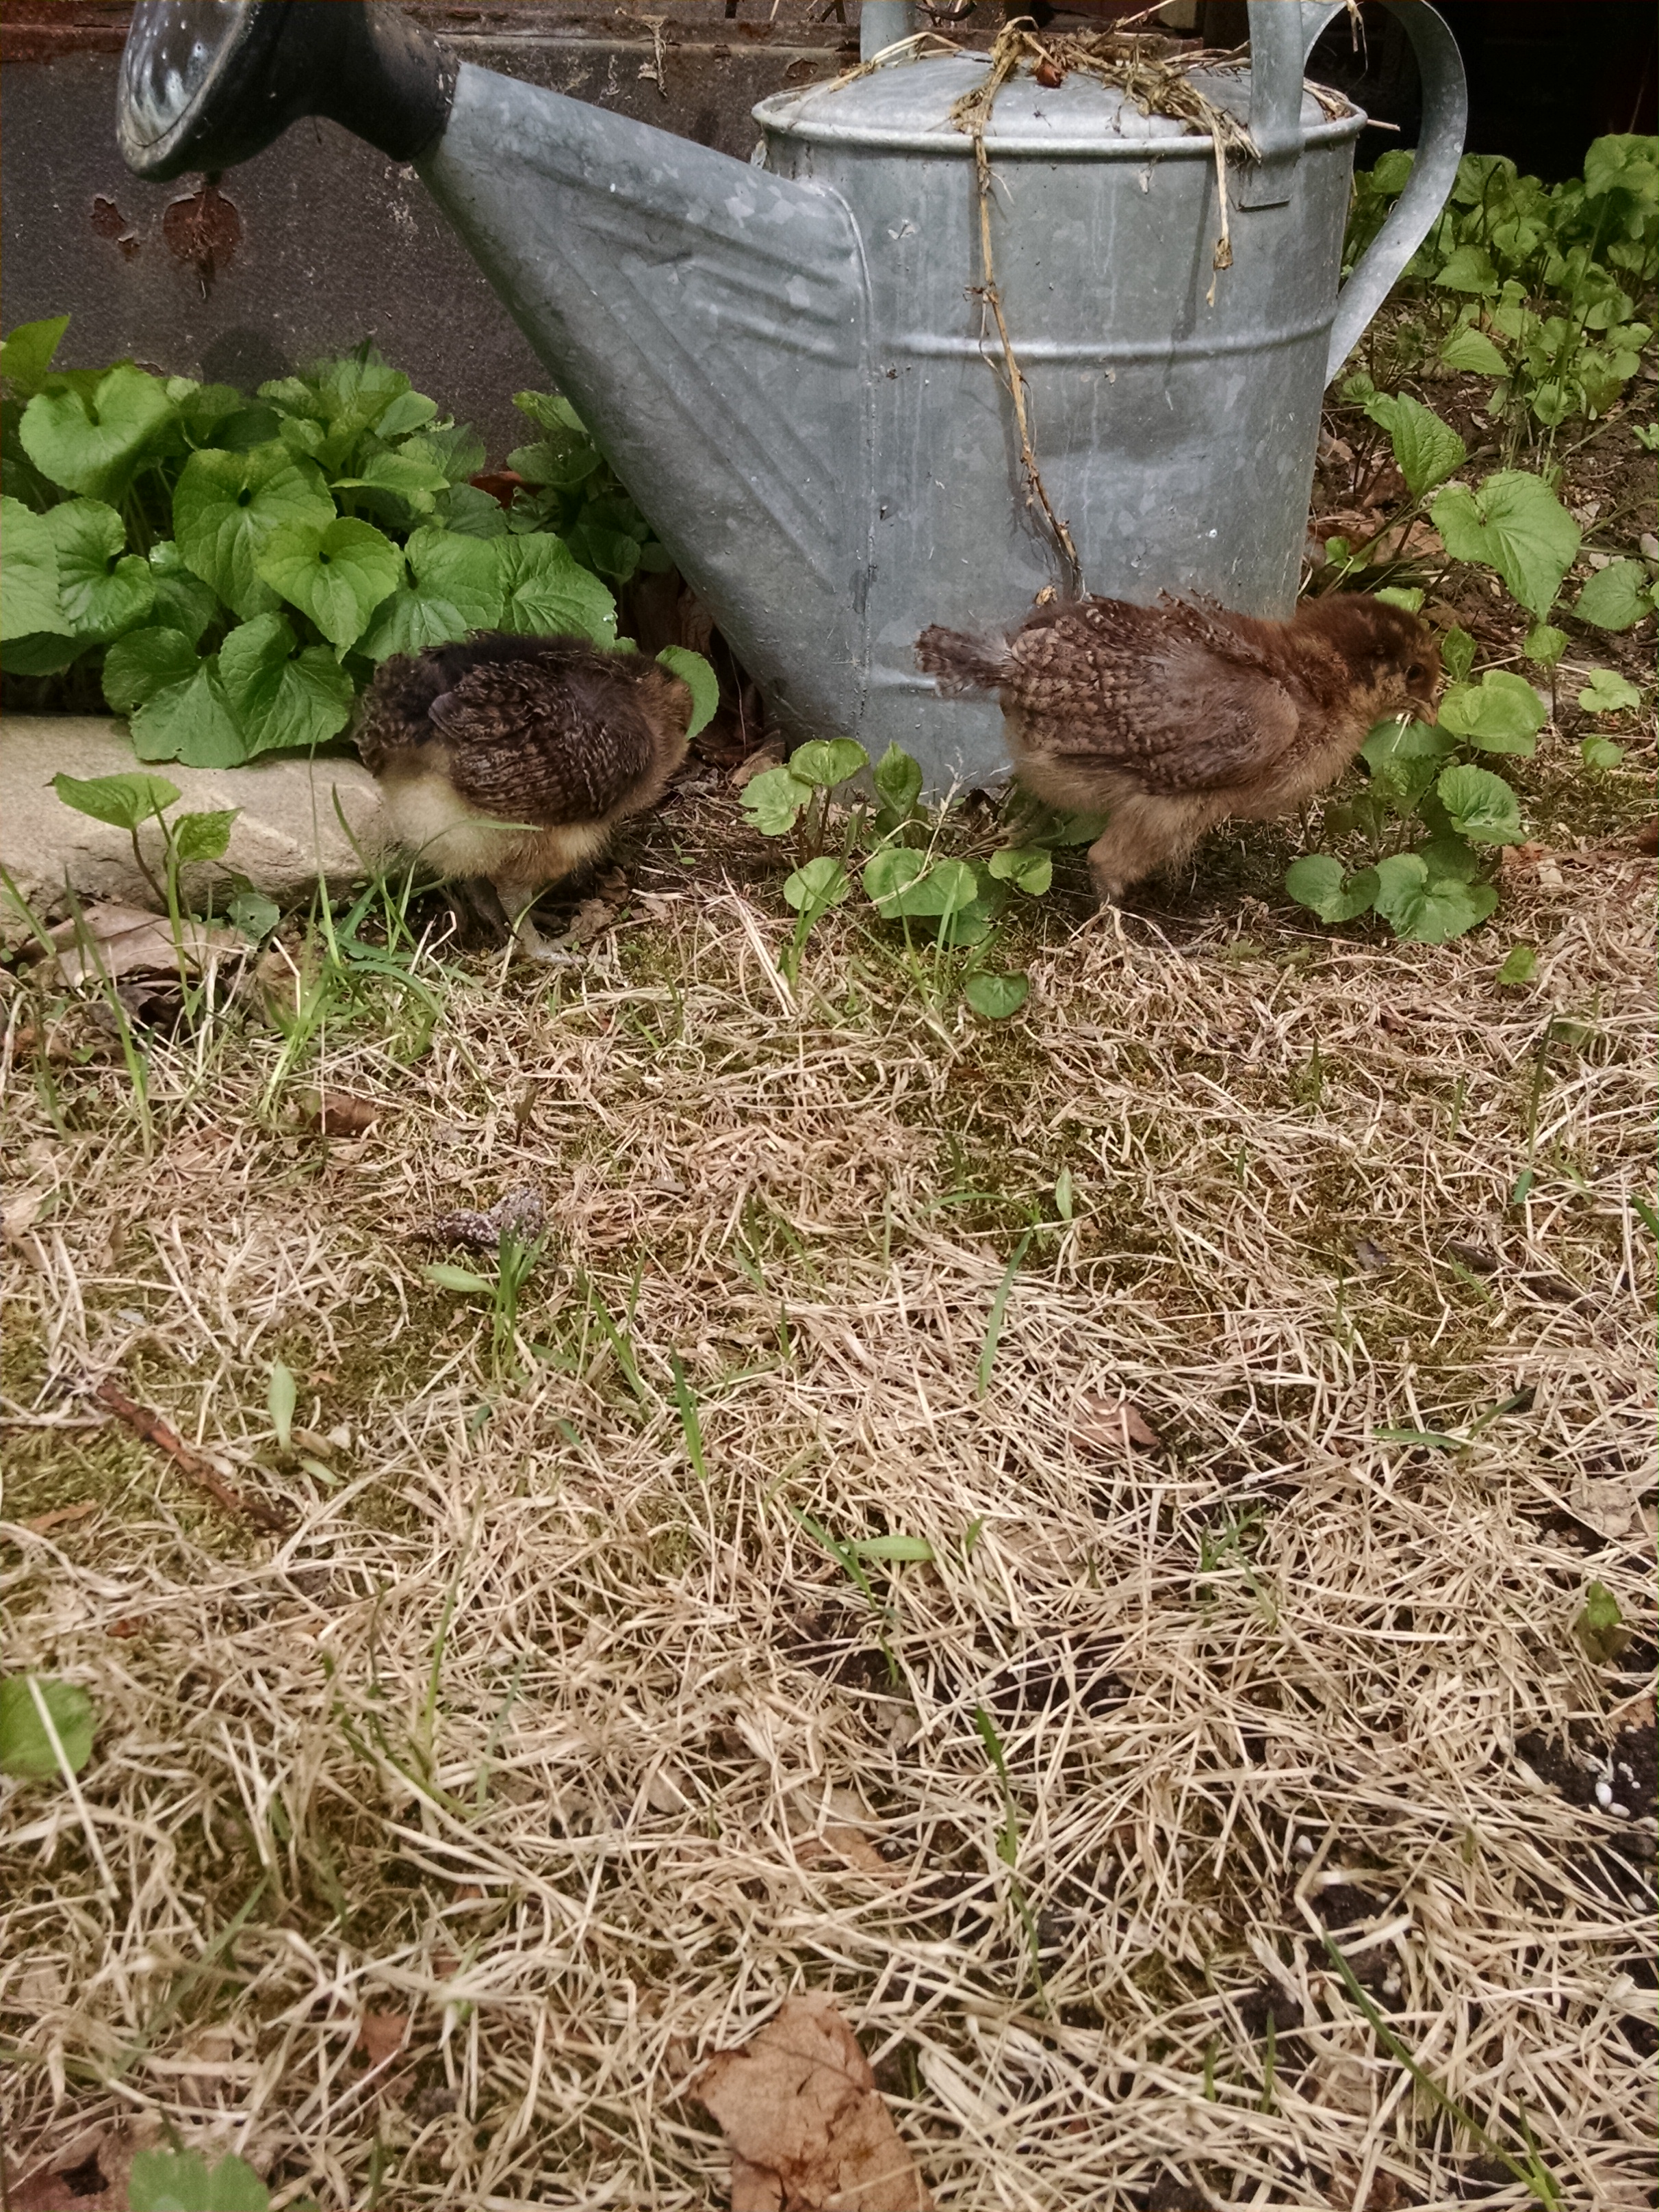
Baby chicks love exploring the great outdoors!
Weeks 3-5
Move them to the garage and a larger home
Adjust temperature so they are comfortable
Continue taking them out to play on nice days
Weeks 5-7 or 8
Set up a little “safe zone” inside the big chicken coop. (Only if you already have chickens, if not, scratch this part.) This can be a wire cage, or anything where the grown chickens can see them but not get to them. It is very important that the babies are secure or the hens will peck at them very brutally. Allow them to play out there for part of the day, bringing them back in after a few hours. Eventually I like to cut a hole large enough for the chicks to get out if they feel safe, but not big enough for the hens to get to them. I find this is a great way to introduce the chicks and hens—the chicks can run to safety and the hens get used to them being around.

Two baby chicks thoroughly enjoying playing in the dust bath
**Dust Bath
Chickens adore dust bathing. It’s how they stay clean, healthy, and free of pests. So I really enjoy giving my little chicks a chance to do this inside. All I do is fill a shallow cardboard box with some dry soil and let them go to town! I also sprinkle the chick grit in this dirt for them to peck at. As the chicks grow, I provide them with a larger dust bath. I refresh it as needed.
That’s the brief overview! I will be writing a post how to introduce baby chicks to the flock full-time at a later date. Stay tuned! In the meantime, enjoy your little fluffballs—they grow so quick and before you know it you’ll be enjoying their fresh eggs!